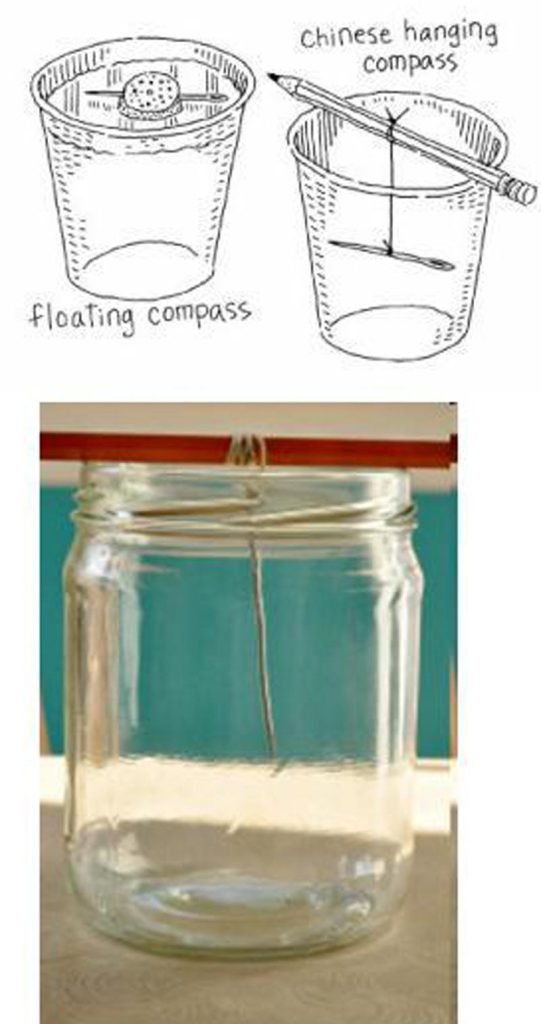
To supplement your eighth grader’s study of magnets in school, try this simple activity at home. Your child will create a homemade working compass using just a steel needle, magnet, jar and a few other supplies. As he builds his compass, he’ll experiment with magnetism and will get to “see” the Earth’s magnetic field as it influences the compass’s needle. Doing science experiments in school and at home is a good way to observe scientific laws at work and helps deepen your child’s understanding of scientific concepts.
What You Need:
❑ Clear wide-mouthed glass jar or plastic cup
❑ Pencil
❑ String
❑ Large steel sewing needle
❑ Smaller steel needles
❑ Magnet
What You Do:

- Carefully rub the pointed end of the needle on one end of the magnet 30 to 50 times. This will align the electrons in the needle, magnetizing it.
- To test that the large needle is magnetized, place one of the smaller steel needles on the tabletop. help your child try to pick up the small needle with
- the large one. If it works, the large needle is magnetized. If it doesn’t work, repeat step 1, making sure to rub in only one direction to keep from mis-aligning the electrons.
- Once the needle is magnetized, help your child knot one end of a piece of string around the middle of the large needle. Adjust the placement of the knot so that the needle may hang level from the string.
- Make your child knot the other end of the string around the middle of the pencil.
- Help your child lay the pencil across the mouth of the jar or cup so that the needle may be hanging inside. Shorten the string if the needle is touching the bottom of the jar. The needle will now turn to point to magnetic North.
- Watch as the needle turns to point to magnetic North. You’ve created a compass!
